November is over, Santa Claus elves start to stress and the YaST team brings you one of the last reports of 2016. Let’s see what’s new in YaSTland.
Harder to ignore installation warning
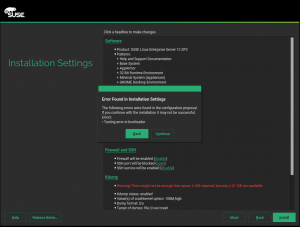
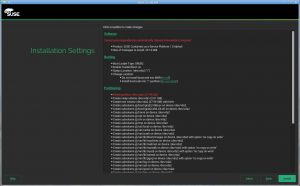
The “installation settings” summary screen usually reports some non-critical errors displayed as a red text. Although the installation can proceed despite those errors, they are usually serious enough to lead to problems. That’s why we decided to introduce a change to highlight them a little bit more, making them harder to overlook.
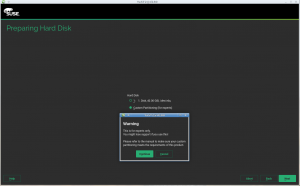
The following screenshot shows the newly introduced confirmation dialog, presented before proceeding with installation.
Make DHCLIENT_SET_HOSTNAME configurable on a per-interface basis
But that’s not the only usability-oriented enhancement on this sprint. We also reworked a bit the network configuration dialog.
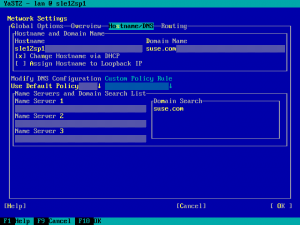
For home users is very common to use a fixed hostname -set during installation- for our beloved linux box. But in some circumstances it’s better to set the hostname of the machine dynamically using DHCP, something YaST has always allowed to do by just ticking a checkbox that used to be in the network configuration screen. See “Change Hostname via DHCP” below.
That checkbox used to modify the system-wide variable
DHCLIENT_SET_HOSTNAME, which was fine in scenarios in which only one
of the network interfaces was configured via DHCP. But with several
network interfaces connected to different DHCP-enabled networks, some
problems arose.
During installation, if network configuration is used, Linuxrc
creates the ifcfg files with DHCLIENT_SET_HOSTNAME='yes' for all of
the enabled or configured interfaces and this value has precedence over
the global one.
So the main problem was that YaST only allowed us to modify the global variable and setting it to ‘no’ did nothing because it was enabled for some interface.
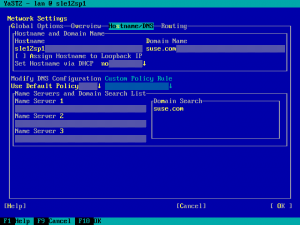
During this sprint we have fixed that and now the user interface offers the possibility of choosing which DHCP interface will be used to decide the hostname.
Apart from choosing one of the existing interfaces, the new setting can also be set to ‘no’ or to ‘any’. In any case, YaST will always configure the system-wide options and the interface specific ones in a consistent way, so the behavior is always predictable.
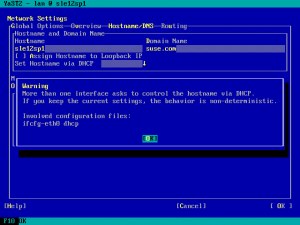
But YaST is not the only way of configuring the network, so it’s always possible to have an unpredictable configuration. Fortunately, those potentially problematic scenarios will be detected by YaST and reported to the user.
Partitioning in CASP
In the previous report we already explained how are we improving the installer to support the definition of the ultra-streamlined installation process of SUSE CASP, the new Kubernetes based member of the SUSE family.
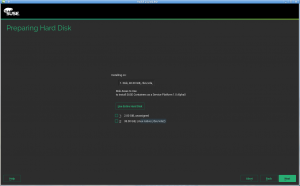
In this sprint we introduced several additional changes to enable a different partitioning approach, more guided and automatic than ever. In a CASP node it makes no sense to use the advanced settings offered by our storage proposal, like encryption or LVM. Moreover, CASP relies on Btrfs to provide some of its cool and advanced features, like transactional updates.
As a result, although the regular SUSE and openSUSE releases will keep offering all the current possibilities in the same way than ever, in CASP the partitioning step will be skipped and the automatically calculated proposal will be simply displayed in the installation summary.
Clicking on the proposal will allow to re-target the installation to a different disk (or disks) in a similar way than the regular installer, but the options will be more limited. Again, no easy way to use LVM, encryption, separate home or any file system type other than Btrfs.
The expert partitioner is still available during CASP installation, but using it will show an extra warning, since it implies a much bigger risk than using it in a regular SUSE or openSUSE system.
Improved debugger integration
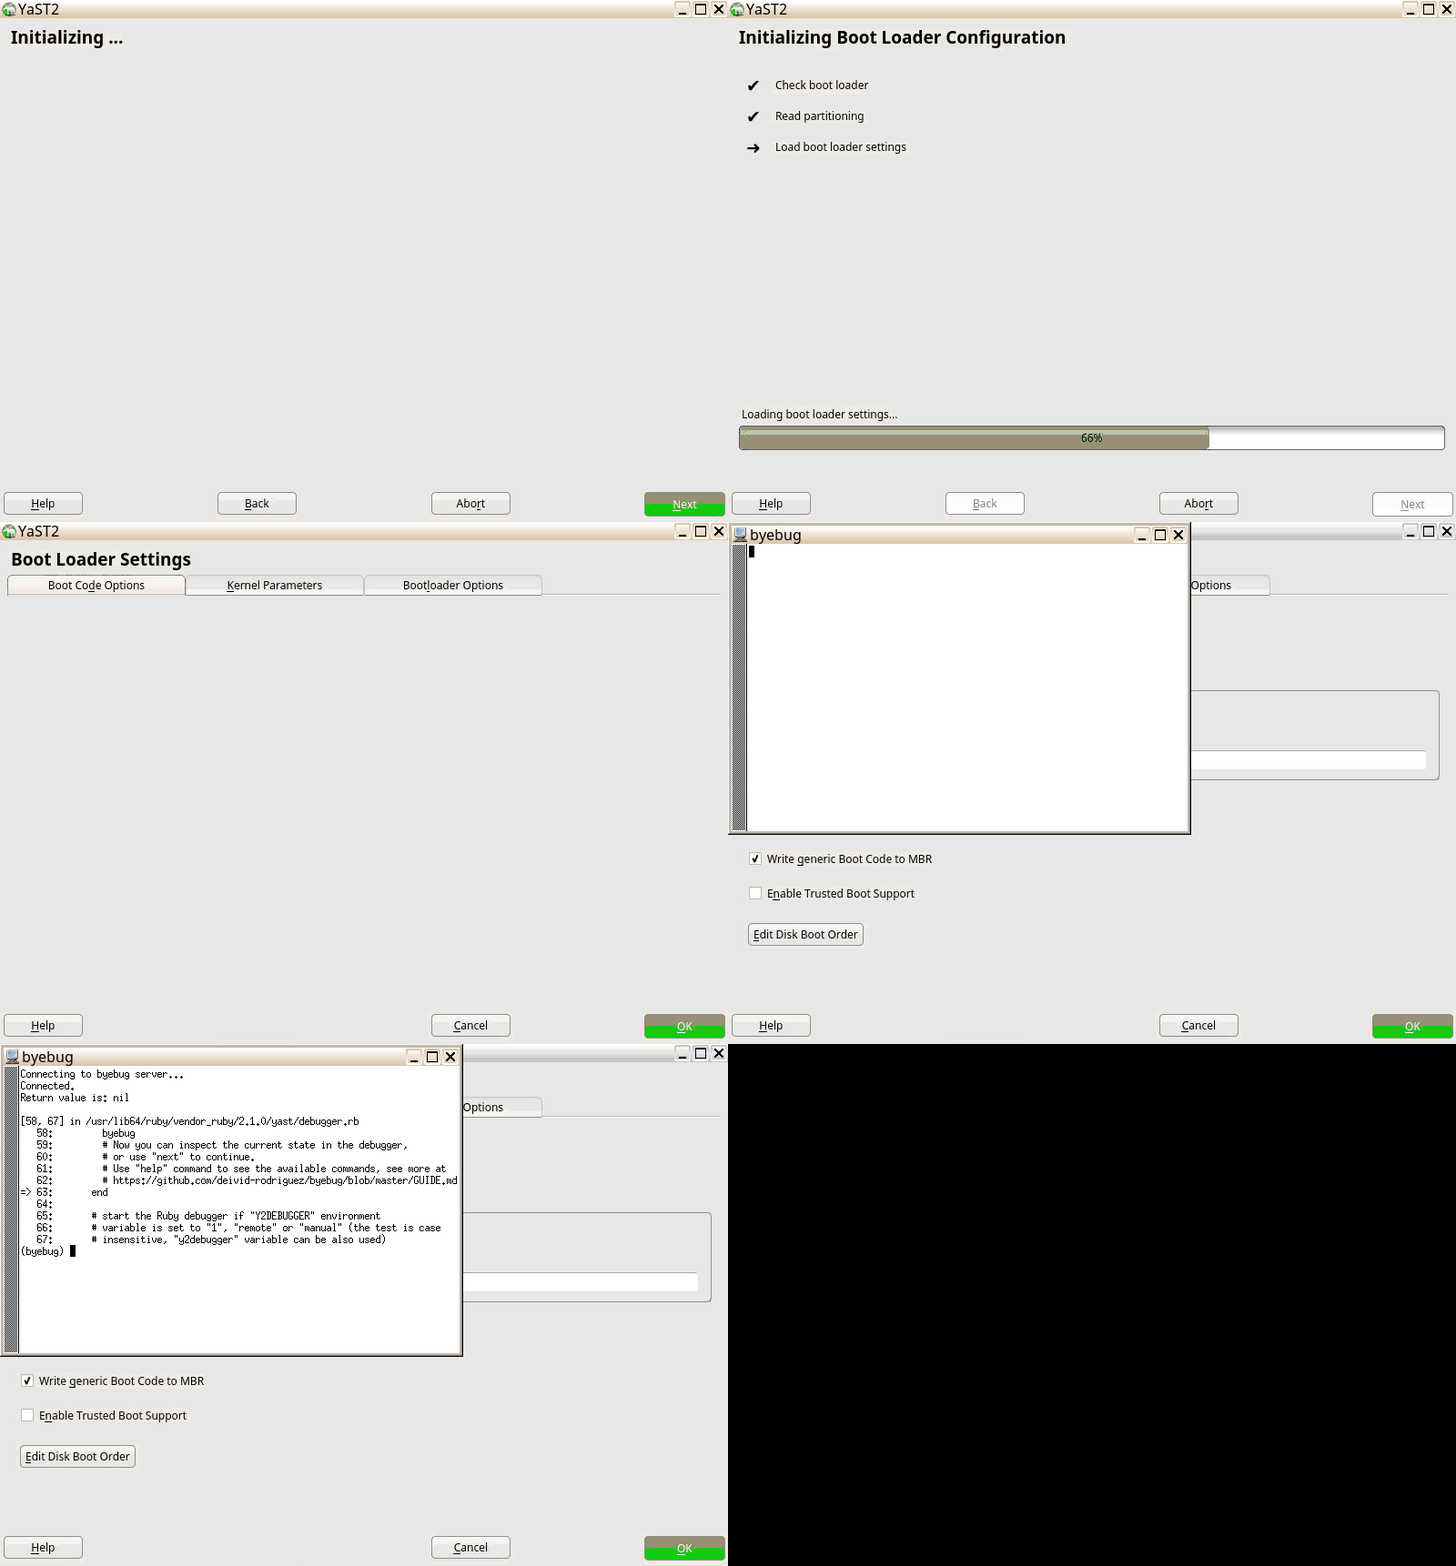
We have improved the Ruby debugger integration in YaST. So far you could
start the debugger using the y2debugger=1 boot option or by setting
the Y2DEBUGGER=1 environment variable. The new feature allows starting
the Ruby debugger also later when the YaST module is already running.
Simply press the Shift+Ctrl+Alt+D keyboard shortcut (D as debug) and
it will start the Ruby debugger. It works during installation and also
in installed system (just make sure the byebug Ruby gem is installed).
Unfortunately this new feature works only in the Qt UI, the ncurses UI is not supported (currently it does not handle the debugging keyboard shortcut at all).
After pressing the keyboard shortcut the debugger window will pop up:
Storage reimplementation: it’s alive!
It took us one more sprint than originally expected, but finally we can say the testing ISO for the new storage stack is fully installable.
We fixed the UEFI + MBR partition table scenario we already had almost working in the previous sprint (turns out it was not that broken in Tumbleweed after all) and we adapted yast2-bootloader to be also able to deal with legacy (i.e. no UEFI) booting using the new storage stack.
As a nice result, our testing ISO can be used to install a perfectly functional system in both UEFI or legacy systems with the only requirement of having a pre-existing MBR partition table in the disk. It only shows a couple of error pop-ups related to the calculation of the proposal of software to be installed, but nothing that would prevent you from replacing whatever operating system you have with a new shiny openSUSE-based experiment.
This milestone opens the door to start testing the new stack with openQA, the same system that helps to guarantee the robustness of all the recent SUSE and openSUSE versions.
Storage reimplementation: preparations for the storage proposal
Now that yast2-bootloader starts to be ready to work with the new storage stack in more and more scenarios, it’s time to adapt the only component that still complains during the installation.
In order to make that task doable during the next sprint, we invested some time in this sprint analyzing the interaction between the software proposal calculator and the old storage layer. The outcome was a small document detailing what needs to be adapted in the proposal and in the new stack. The perfect input for a task in the next sprint.
Help for power-users with short memory
Our beloved YaST is packed with magic tricks below the surface. Many of them are very useful to debug installation problems or to better understand how the YaST internals work. Unfortunately developers tend to not be that good at blindly memorizing stuff and the functionality is so well hidden that most newcomers would have hard times finding it… until now.
We have added a couple of new keyboard shortcuts to show a summary of
all the advanced hotkeys, so now you only have to remember one key
combination instead of a dozen of them. In both text (ncurses) and
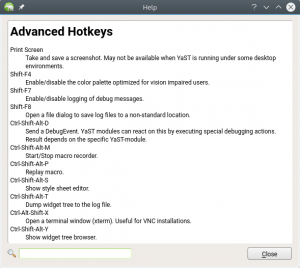
graphical (Qt) mode, it will be enough to press shift+F1 to get the
advanced help displayed below. Since some terminal emulators could
already use that combination, ctrl+D F1 can also be used in the
ncurses interface as an alternative.
Contributions keep coming!
As we have already mentioned in previous sprint reports, an important part of our daily job as open source developers is helping casual (and not so casual) contributors to bring their ideas and code into YaST and related projects.
This time that (hopefully not casual) contributor was Devin Waas, who wanted to improve the installation to make the life of cloud-lovers easier.
For cloud guys out there retrieving logs of a failed installation
is was a huge problem. Now, thanks to Devin, all you need is
a running a rsyslog server and you’ll be able to easily access your
installation logs from there.
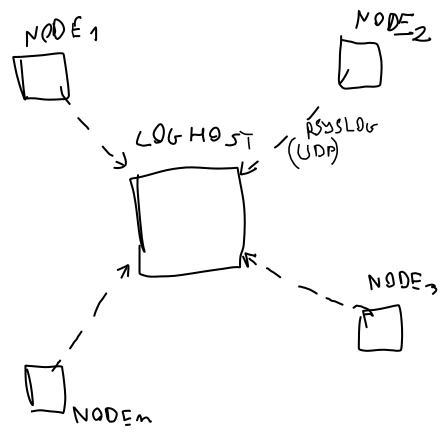
As a matter of fact, the newest Tumbleweed release allows us to specify the IP address of a remote server from the bootloader through the “Loghost flag”. Linuxrc will take care of setting up a UDP broadcast for dmesg contents and YaST installation logs.
This is just a first step. Devin promised further improvements of our newly implemented remote logging system. And he codes better than he draws, so stay tuned!
Storage reimplementation: LVM-based proposal
As we already mentioned in previous reports, when we started to develop the partitioning proposal we first focused in the scenario of a partition-based proposal with one or several MBR-style partition tables. That looked like the most complex scenario due to the limited number of primary partitions, the alignment problems, the overhead introduced by the EBR (extended boot record) of every logical partition and so on.
A couple of sprints ago, we got that working so we started to work on the LVM-based proposal. It took a little bit longer than expected but now we are able to generate LVM-based proposals for almost every possible scenario. The goal was to have them working in our mocked test cases. So probably the new LVM-based proposal cannot still be used to install a fully functional system, but it is backed by a full load of tests that prove we can handle many situations, from trivial to really tricky ones… and believe us, things can get quite tricky if you mix logical partitions with their EBR overhead and LVM volumes with their PE size rounding and their metadata overhead.
Bugs, bugs, bugs
In this sprint we kept the already commented approach of making the fix of low-priority and small bugs part of the Scrum process. As a result we accounted for approximately 50 deaths of those annoying creatures.
Conclusion
Looking at the report, we could say it was a quite successful sprint. But to be honest we were aiming even higher. Quite some interesting PBIs (features or bug-fixes in Scrum jargon) were almost done at the end of the sprint. But following Scrum philosophy, we never blog about almost-done stuff.
Thus, if nothing goes wrong things will be even better in the next report in three weeks. So have a lot of fun trying the new stuff and stay tuned for more!
