- Snapper:
listindicates special snapshots; what is snapper anyway? - Bcache: configuring attributes
- AutoYaST: whole disks; partitioned RAIDs; Xen virtual partitions; better merging
- Booting: "warning, everything is fine!"
- CaaSP/Kubic: proposing NTP servers according to DHCP response
- Partitioner UI is a bit faster now
Snapper: Show Currently Mounted and Next to be Mounted Snapshot
Btrfs has some special snapshots: The snapshot currently mounted, and the snapshot that will be mounted next time (unless a snapshot is selected in grub). Now snapper informs the user about these two special snapshot when listing snapshots by a special sign after the number:
# snapper --iso list --disable-used-space
 # | Type   | Pre # | Date                | User | Cleanup | Description           | Userdata
---+--------+-------+---------------------+------+---------+-----------------------+--------------
0  | single |       |                     | root |         | current               |
1+ | single |       | 2018-10-18 10:33:50 | root |         | first root filesystem |
2  | single |       | 2018-10-18 10:43:45 | root | number  | after installation    | important=yes
3- | pre    |       | 2018-10-18 11:03:11 | root |         | ruin system           |
4  | post   |     3 | 2018-10-18 11:03:11 | root |         | ruin system           |
For more details visit the snapper blog post.
More Descriptive Name for Snapper Module in YaST Control Center
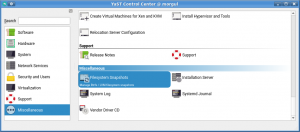
Previously, the module was called just "Snapper", but users who don’t know that Snapper is could not make any sense of that. We changed it to "Filesystem Snapshots".
Funny anecdote: One team member asked if Snapper really supports LVM when he read the subtitle "Manage Btrfs / LVM filesystem snapshots". Yes, it does! (It has been doing that for a long time). You don’t need Btrfs for snapshots; LVM can also do that, albeit a little differently than Btrfs.
More Bcache Improvements
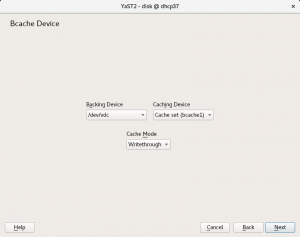
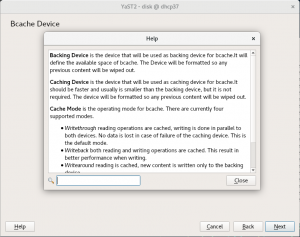
As you can see in the previous blog post, we are currently working on adding support for Bcache into the YaST partitioner. This time we allow to configure the cache mode for a new bcache device. If you are not sure what a particular cache mode means, we provide also a quite extensive help text. Beside this configuration we also limit operations to prevent data loss or operations that can result in unreliable results. Here with a couple of screenshots:
Using whole disks in AutoYaST
On one hand, now it is possible to format and mount a whole disk without
creating any partition. In order to do so, you only need to set the
<disklabel> element to none and AutoYaST will understand that you do
not want to partition the drive but to use the whole disk as a
filesystem.
<drive>
  <device>/dev/sdb</device>
  <disklabel>none</disklabel>
  <partitions config:type="list">
    <partition>
      <mount>/home</mount>
      <filesystem config:type="symbol">xfs</filesystem>
    </partition>
  </partitions>
</drive>
Given the definition above, AutoYaST will format the whole /dev/sdb
disk mounting it at /home. But that is not all: it is even possible to
use a whole disk as an LVM physical volume or as a software RAID member.
The support for the first case was already present in previous AutoYaST
versions, but it was not working correctly in SUSE Linux Enterprise 15
and openSUSE Leap 15.
<drive>
  <device>/dev/sdb</device>
  <disklabel>none</disklabel>
  <partitions config:type="list">
    <partition>
      <lvm_group>system</lvm_group>
    </partition>
  </partitions>
</drive>
AutoYaST and partitioned software RAIDs
AutoYaST is now able to create partitioned software RAIDs, something that was not possible in pre-storage-ng times. However, in order to support such a scenario, we needed to change the way in which software RAIDs are described in AutoYaST profiles, although the old format is still supported. So let’s have a look at how a RAID looks like now.
Instead of grouping all RAIDs in a single and special <drive> section,
now each RAID is defined in its own section:
<drive>
  <device>/dev/md0</device>
  <raid_options>
    <raid_type>raid0</raid_type>
  </raid_options>
  <partitions config:type="list">
    <partition>
      <mount>/</mount>
      <filesystem config:type="symbol">btrfs</filesystem>
    </partition>
    <partition>
      <mount>/home</mount>
      <filesystem config:type="symbol">xfs</filesystem>
    </partition>
  </partitions>
</drive>
Of course, if you do not want the RAID to be partitioned, just set the
<disklabel> element to none, as for any other device.
Better Xen Virtual Partitions support
Analogous to how software RAIDs were defined in AutoYaST until now, Xen
virtual partitions with a similar name were grouped in the same
<drive> section. It means the /dev/xvda1, /dev/xvda2, etc. were
defined within the <drive> section for xvda, which does not exist at
all.
To make things clearer, we have decided to use a separate drive section for partition:
<drive>
  <type config:type="symbol">CT_DISK</type>
  <device>/dev/xvdd1</device>
  <disklabel>none</disklabel> <!-- not really needed -->
  <use>all</use>
  <partitions config:type="list">
    <partition>
      <format config:type="boolean">true</format>
      <mount>/home</mount>
      <size>max</size>
    </partition>
  </partitions>
</drive>
AutoYaST Rules: Cleaning the profiles before being merged
AutoYaST rules offer the possibility to configure a system depending on
system attributes by merging multiple control files during installation.
Check the Rules and Classes section for further documentation.
The merging process is often confusing for people, and the sections in the merged XML files must be in alphabetical order for the merge to succeed.
AutoYaST was cleaning the profiles after a merge, but if the resultant profile was merged with another profiles that profiles were not cleaned before the merge. That was confusing and error prone, so we have fixed it cleaning also them before the merge.
Better explanation of the requirements to boot with GPT
As our readers know, one of the main goals of yast-storage-ng was to offer a more reliable and precise diagnosis on what partitions need to be created in order to ensure that a new system being installed will be able to boot. If something doesn’t fit with such diagnosis, the installer shows a warning message.
In the case of booting a system installed in a GPT device, using the legacy BIOS system (as opposed to EFI), that means SLE-15 and openSUSE Leap 15.0 will warn the user if there is no partition of type BIOS Boot. But there are two problems with that.
- The warning messages from the Partitioner and, specially, from AutoYaST don’t do a great job in explaining what is wrong.
- Some users have reported they have GPT systems booting fine in legacy mode without a BIOS Boot partition and, thus, our diagnosis in such cases may be wrong.
We even had a comment in our source code reinforcing the second point!
So we tried to fix our wrong diagnosis… just to end up realizing it was in fact right. After carefully evaluating all the possible setups, checking the different specifications, the Grub2 documentation and even checking the Grub2 source code, we found that layouts without a BIOS Boot partition could get broken (resulting in a non-bootable system) by some file-system level operations. So only the configurations including a BIOS Boot partition can be considered to be 100% safe, both in the short term and against future changes in the system.
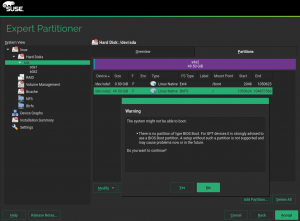
We simply cannot allow our users to fall into traps without, at least, a warning message. So we kept the behavior as it was and we focused on improving the messages. After all, advanced users knowing the risks can ignore such warnings. This is how the new warning look in the Partitioner of the upcoming SLE-15-SP1 (and, thus, in openSUSE Leap 15.1).
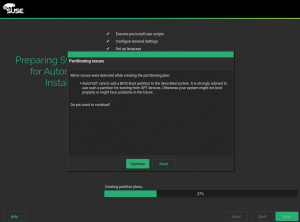
And this is what AutoYaST will report if the profile doesn’t specify a BIOS Boot partition and it’s not possible to add one to the layout described by such profile.
CaaSP / Kubic: Propose NTP servers according to DHCP response
All-in-one dialog of CaaSP installer asks for NTP Servers. Up to now it searched for NTP servers using SLP only. Otherwise only manual configuration was possible.
Since now CaaSP installer parses DHCP response and fetches NTP servers if any was provided. NTP Servers obtained from DHCP are preferred over those discovered via SLP.
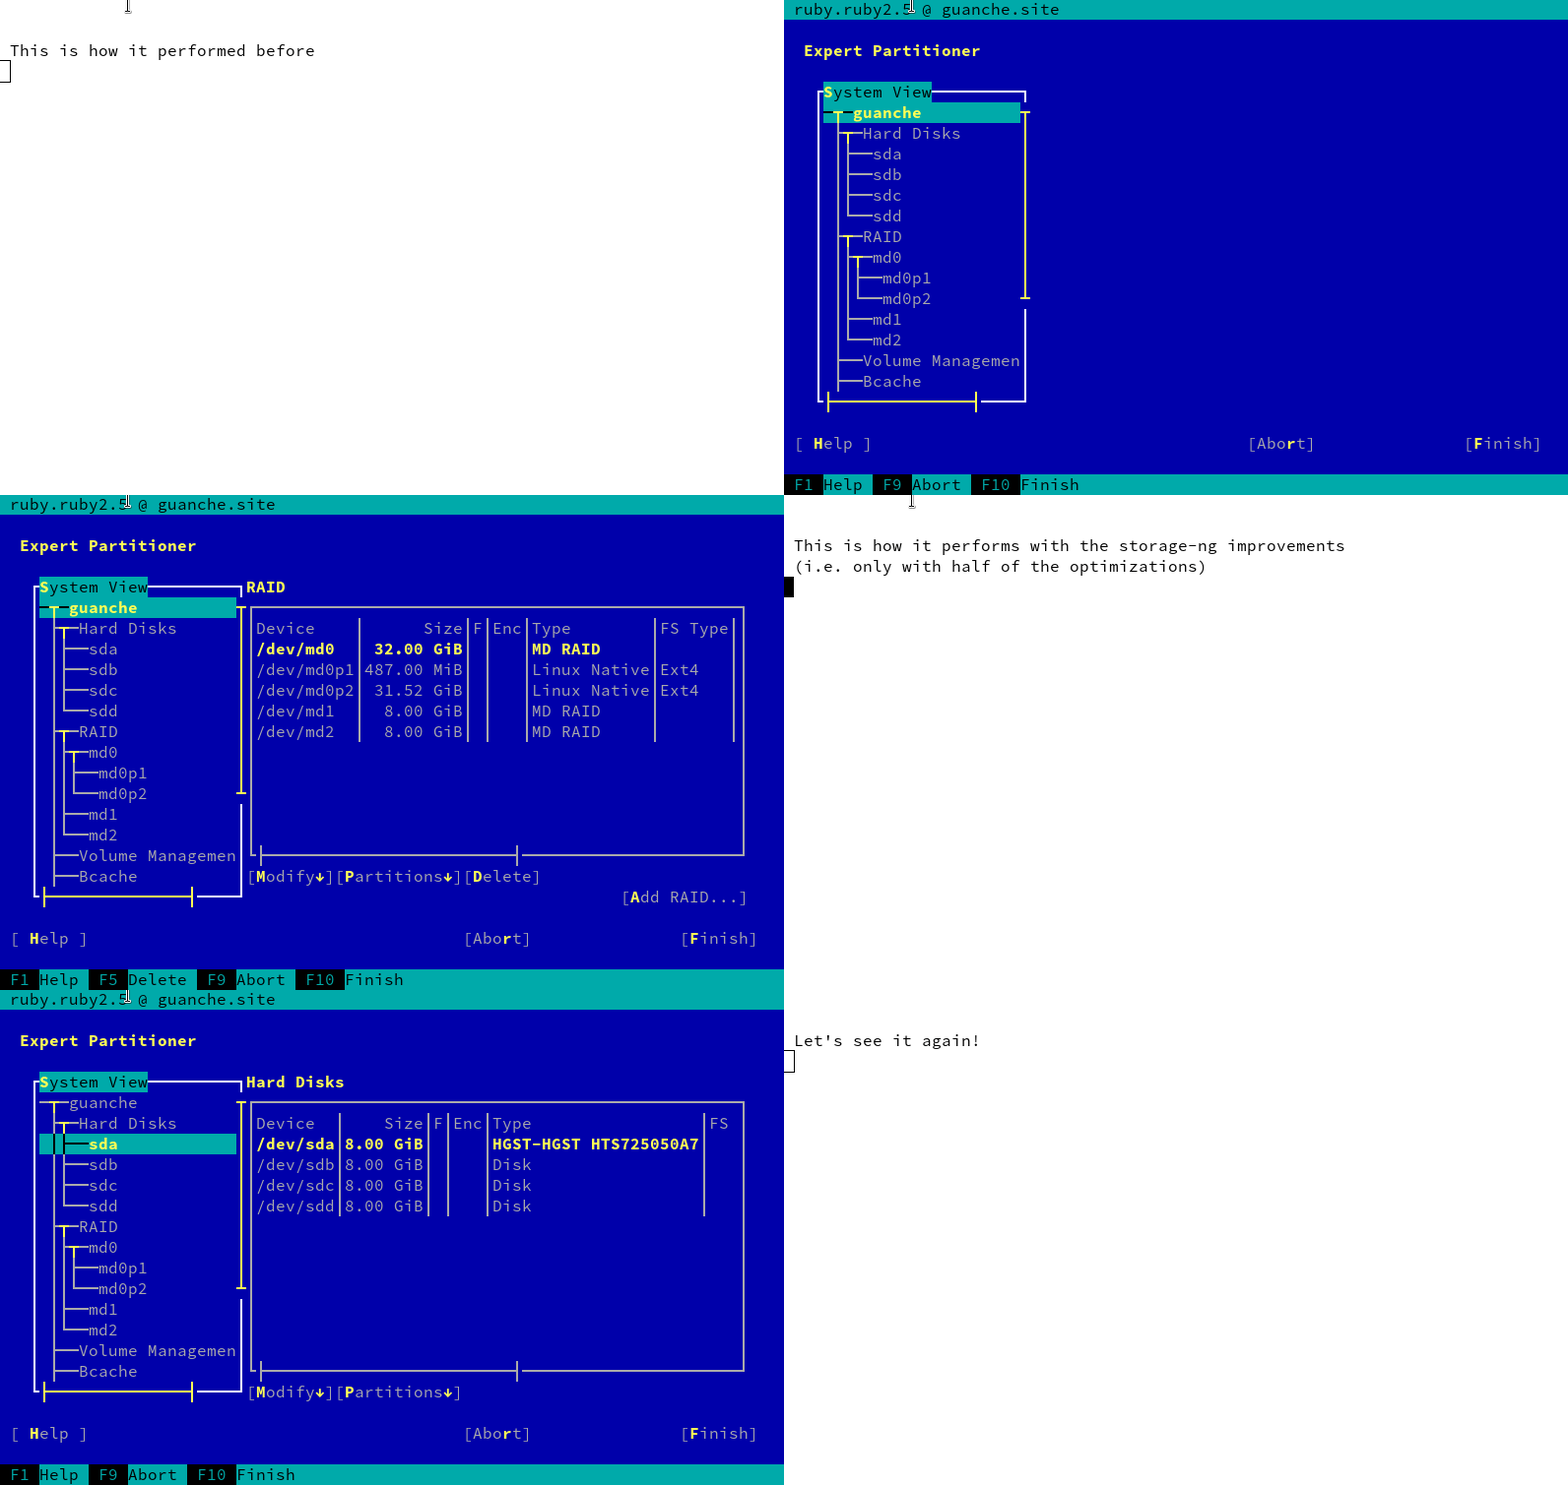
Partitioner UI is a bit faster now
We noticed that clicking around the partitioner UI feels slow. So we
used the built-in (Y2PROFILER=1) as well as an external (rbspy)
profiler to pinpoint the places that need optimization (mostly caching).
Can you see a difference in the following screencast?
